

Positional shooting is typically associated with competition and tactical shooting. In fact, in my experience most hunters don’t think much about positional shooting or practice it regularly. Many hunters do little more than pull their rifle out of the safe and shoot five to 10 rounds from a bench or the prone position at 100 yards to check zero before they head out into the field in pursuit of game.
In my opinion, as sportsmen, we owe the wildlife we chase more than that. Beyond zero confirmation, we should be spending time with the rifle we intend to use in the field so that we can ensure a clean and ethical kill.
As a professional in the outdoor industry, I spend far more time in the field than most. Last year alone, I was either photographing, observing, or participating in hunts and other shooting-centric events for around 100 days, all over the world. Over hundreds of hunts — both pulling the trigger myself and observing others — I have never seen anyone harvest an animal while shooting from a bench, and I have only seen a few hunters make a kill shot from the prone position.
Out of all the animals I have harvested, only one has been taken while shooting from the prone position. So, if we never get the opportunity to shoot a game animal from a shooting bench, and if getting to take a shot from the prone position is rare, why are those the two main positions hunters practice before heading out on the hunt?

It doesn’t really make sense, does it? The shooting bench is really only meant to be a place to confirm zero and rifle dope, or to introduce new shooters to rifle shooting. Shooting from a bench is not training, and while you may get the opportunity to take a shot from the prone position, it is rare in my experience.
So, in an effort to help you better prepare for the field, this article will cover the field-expedient shooting positions I find useful, along with support equipment you may want to consider taking with you on your next hunt.
Support Equipment
Other than your rifle, optic, ammo, and the other standard gear you take with you on a hunt, here are a few items you may want to consider. These tools can help you get into a comfortable and stable shooting position in the field and are well worth training with ahead of the season.
Tripod
Shooting tripods have become extremely mainstream in recent years — and for good reason. They are very versatile pieces of equipment that can be used in a myriad of ways and provide a significant amount of support. I have used many different shooting tripods, and my personal favorite right now is the Vortex Optics Switchback Carbon. It strikes a great balance between being lightweight, reasonably compact, rigid, and quick to adjust.

Some tripod heads become overly complex or bulky, but the Switchback keeps things simple with a single throw lever used to quickly adjust the ball head. There are plenty of good options on the market, but I currently recommend the Switchback Carbon. It’s a solid piece of equipment that can be used not only for shooting in the field but also with a spotting scope or binoculars. I always appreciate gear that serves multiple purposes, especially if I have to carry it on my back.
Shooting Bag
One of my most frequently used pieces of gear is a good shooting bag. If I’m grabbing a rifle, it’s rare that I don’t grab a shooting bag as well. They can be used in so many different ways to add support and stability. Whether or not you plan to take one hunting, I highly recommend picking up a quality shooting bag.

There are many different styles available, but I like to keep things simple. I always recommend the Pint-Sized Game Changer from Armageddon Gear. I prefer the sand fill, although lighter fill options are available — just keep in mind that lighter fill will not offer the same level of stability. Depending on the type of hunt you’re doing, a shooting bag may or may not make sense. They can be heavy and bulky, so for backcountry hunts this is probably not a piece of gear I would bring. However, if you’re hunting out of a vehicle or only making short stalks, a shooting bag can be extremely useful.
Frame Pack
A high-quality frame pack is worth its weight in gold. I have been using EXO MTN Gear packs for over 10 years, and in my opinion they continue to lead the industry in comfort and durability. If you’re in the market for a frame pack, I recommend checking out their K4 system. It’s one of the lightest packs I’ve ever used without sacrificing durability.

The pack forms to my body better than any other I’ve tried and makes heavy pack-outs far more manageable. Anything that reduces the discomfort of long pack-outs is always welcome — but a good frame pack can be used for more than just carrying meat and gear.
Position 1: Tripod Sitting
Shooting from a seated position off a tripod is useful in a wide variety of situations. Whether you’re on a mountain slope taking a shot at a mule deer across a drainage or hunting antelope in flatter terrain, this position is relatively quick to set up and offers excellent stability due to your low center of gravity.

Setup:
When shooting off a tripod, it’s best — whenever possible — to have one leg forward and two legs back. The tripod should be positioned like an arrow pointing toward the target. This ensures that when the rifle is attached to the head and fired, recoil comes straight back, allowing for faster follow-up shots if needed.
Attach the rifle via an ARCA-Swiss rail or a clamp-style head like a Hog Saddle. Sit down behind the rifle and attach it near the center of the gun, typically just in front of the magwell. This reduces wobble and allows for easier left-to-right movement without shifting your entire body if the animal moves.
Use your offhand to push down firmly — but not excessively — on the top of the scope to help limit wobble and manage recoil. Alternatively, you can grab one of the tripod legs, but I prefer pressure on the scope. Raise the knee on your dominant side and drive your dominant elbow into the meat of your thigh for additional support. If you have a backpack, you can further stabilize this position by stuffing the pack under your dominant armpit. This is an extremely effective, versatile position that’s quick to set up and widely applicable.
Position 2: Tripod Standing
This position shares many similarities with tripod seated shooting, with a few caveats. It’s ideal for coyote, hog, and antelope hunting, as it allows you to shoot over grass and brush that might obscure your target. However, it takes slightly longer to set up and is inherently less stable. It also tends to be more difficult on steep slopes, making it better suited for flatter terrain.

Setup:
Extend the tripod legs until the head is roughly chest height. As with the seated position, orient the legs like an arrow pointing toward the target. Mount the rifle via an ARCA rail or clamp head. Your feet should be shoulder-width apart, and you should lean slightly into the tripod, loading it with some forward pressure.
Use your offhand to apply firm downward pressure on the top of the scope, or grab the tripod if that works better for you. My preference remains pressure on the scope, as it provides more leverage and helps mitigate recoil.
One important — and often counterintuitive — point: isolate your shoulder. Don’t pull the rifle hard into your shoulder as you would when shooting offhand. Instead, apply most of the pressure with your dominant hand. Roughly 60% of the pressure should come from your dominant hand and about 40% from your shoulder.
Live The Armory Life. The latest content straight to your inbox plus an automatic entry to each of our monthly gun giveaways!
This feels wrong to many shooters, especially those taught to always pull the rifle firmly into their shoulder. However, when shooting off a tripod, isolating your shoulder can significantly reduce your wobble zone. It also minimizes the influence of heartbeat and breathing on your sight picture. Both hands will absorb much of the recoil, allowing your shoulder to remain more relaxed. Don’t completely remove shoulder contact from the butt of the stock — just don’t drive into it. This technique takes practice, so spend time training with it at the range. It can also be applied when shooting off a bag.
Position 3: Shooting Bag
A good shooting bag can turn almost any object into a stable shooting platform — rocks, stumps, tree limbs, fence posts, livestock gates, fallen trees, and more. Because of their versatility, shooting bags are an excellent tool across many environments and hunt types.

Setup:
Place your shooting bag on the object you plan to shoot off of. The Pint-Sized Game Changer, for example, has both a flat side and a notched side. On flat surfaces, place the flat side down and rest the rifle in the notch. On narrow or rounded objects, place the notched side down so it can better conform to the surface.
Whenever possible, rest the rifle near the center of the gun — just in front of the magazine or on top of the magazine base metal if it’s flush-fit. This reduces wobble. Many of the same principles from tripod shooting apply here. Use your offhand to push down on the top of the scope, or, depending on your setup, pinch the bag and rifle together by running your thumb over the barrel. Isolating your dominant shoulder may also help, depending on what feels most stable for you.
Your body position will depend on the object you’re shooting from. You may be seated, kneeling, or standing. Practicing shooting off barricades at varying heights with a bag is highly recommended, as it helps you quickly build stable positions in the field.
Position 4: Frame Pack Sitting
Most hunters own a frame pack, and if you’re heading into the backcountry, you’re definitely bringing one. So why not use it as shooting support? This eliminates the need to carry extra gear like tripods, sticks, or bags, saving weight and strain. While it’s not as stable as a tripod or shooting bag, it provides sufficient support for ethical shots out to a few hundred yards or more.

This position works well in many environments but excels on steep slopes or when you can sit against a tree or boulder. It’s a great option for elk, deer, and sheep hunts where long miles and minimal gear are priorities.
Setup:
Sit down and place the pack in front of you with the frame facing you. Rest the rifle on top of the frame. Use your offhand to pinch the rifle to the pack or apply firm downward pressure on the scope. Unlike tripod shooting, this position benefits from pulling the rifle more firmly into your shoulder generally. Bend your dominant-side leg and drive your elbow into your thigh for additional stability.
Position 5: Frame Pack Standing
This final position is more unorthodox, but I want to share it for two reasons. First, most hunters eventually find themselves bracing against a tree to take a shot, and this is a more stable way to do that if time allows. Second, it demonstrates how existing gear can be used creatively to build stable shooting platforms. There are countless ways to do this, so don’t be afraid to think outside the box.

This position is particularly useful for elk and deer hunting in pine forests. The downside is that it takes more time to set up, so if the animal is already alert or moving quickly, this may not be the best option.
Setup:
Remove your frame pack and flip it upside down. Use the hip belt to secure it tightly around a tree, ensuring it won’t slip. The bottom of the pack should be about chest height, creating a shelf to shoot from. Place your rifle on the pack and use your offhand to pinch the rifle to the pack or apply downward pressure on the scope. Stand with your feet shoulder-width apart and lean into the rifle if possible. If not, assume a traditional bladed rifle stance. Once settled and breathing is under control, you’re ready to take the shot.
Conclusion
These are not the only field-expedient shooting positions you can use, but they are an excellent starting point. I recommend not only practicing shooting from each of these positions, but also practicing getting into them quickly. They cover the basics and provide a solid foundation for preparing for hunting season.
Whatever positions are most applicable to your hunt, get off the shooting bench and off your belly, and spend real time behind the rifle you plan to hunt with. I guarantee it will build confidence so that when the shot of a lifetime presents itself you’re ready. At the end of the day, train for the shots you’re likely to take in the field — not the ones that only exist at the range.
Editor’s Note: Be sure to check out The Armory Life Forum, where you can comment about our daily articles, as well as just talk guns and gear. Click the “Go To Forum Thread” link below to jump in!
Join the Discussion
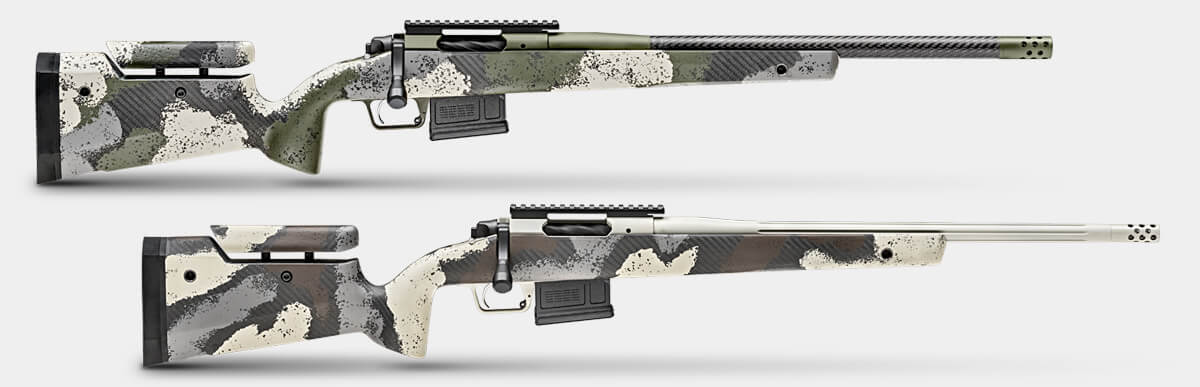
Featured in this article


Read the full article here